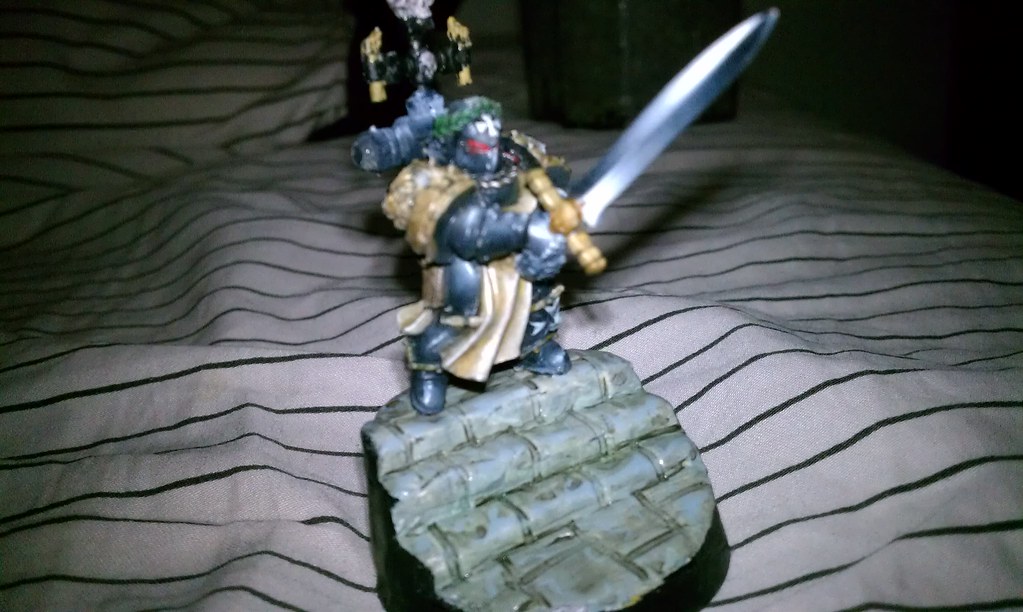
Some people have asked how I've been painting my Champ so I thought I'd write up a quick rundown on how it was done.
Prepping the miniature:
As this Emperor's Champion is metal, I first removed all mold lines with a fine file while making sure not to damage any of the detail on the shoulder pads and helmet. After this was finished, I then sanded the entire miniature till it was slightly reflective with a high grit wet/dry sandpaper which is intended for use on jewelry. It is possible to use other sandpapers, just make sure that the grit is incredibly fine. An emery stick would also work for this.
The miniature was then primed black as its, well, a Black Templar. Under most circumstances, the miniature would have been primed grey, followed by a black spray from beneath the model and a white spray from the top. I wouldn't recommend exceeding forty-five degrees for either the black or white sprays. If you are having trouble picturing what I am talking about, I recommend reading this guide made by the crazy apes over at Massive Voodoo.
More after the break as normal:
